
Free Lesson
Lesson: Knitting Lace
Knitting lace can be intimidating because lace projects are often made with fine yarns on tiny needles, using intricate charted patterns. But lace can be easy, too. It can be made out of heavy yarns, on large needles, with simple stitches that can be memorized after just a few rows.
Lace uses the same basic techniques and stitches as other styles of knitting; however, there are many ways to knit, purl, increase, and decrease and not all are appropriate for knitting lace. These are the techniques that I’ve found work best. I knit Continental style, so these pictures show me carrying the yarn in my left hand. The instructions are the same if you carry the yarn in your right hand.
The Knit Stitch (K)
The basic knit stitch works perfectly in lace knitting.
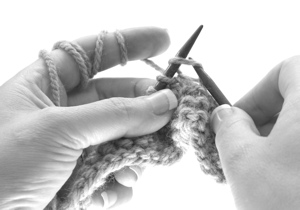
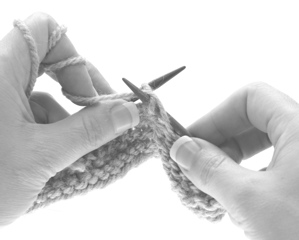
1. With the working yarn in back of the needle, insert the right needle under the left needle and into the first stitch from front to back.
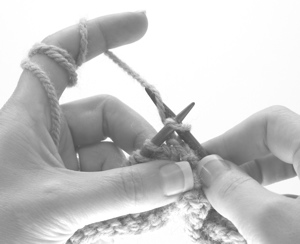
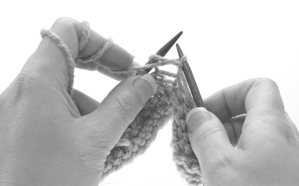
2. Wrap the working yarn around the right needle counter-clockwise.
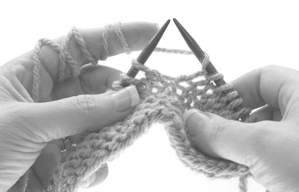
3. Pull the yarn through the loop on the left needle.
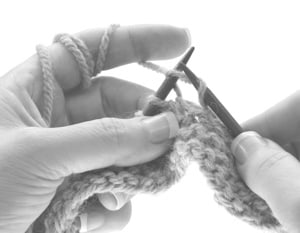
4. Drop the old stitch from the left needle. You now have one new knit stitch on the right needle.
The Purl Stitch (P)
Not all purl stitches are created equal, because some turn the stitches around on the needles. I learned one of these unusual purls from my grandmother, and it was decades before I figured out why I couldn’t follow any instructions for lace stitches. The following purl stitch situates the stitches on the needle in the correct orientation for lace.
1. With the working yarn in front of the left needle, insert the right needle into the first stitch from back to front.
2. Wrap the working yarn around the right needle counter clockwise. (If you hold the yarn in your left hand, dip your index finger behind the needle to wrap the yarn.)
3. Pull the yarn through.
4. Drop the old stitch from the left needle. You now have one new purl stitch on the right needle.
Yarn Over (YO)
A Yarn Over adds a hole to your knitting. This is what creates the lacy texture. A yarn over also increases, or adds an extra stitch to your knitting. Every yarn over must be matched up to a corresponding decrease or the number of stitches will not stay the same.
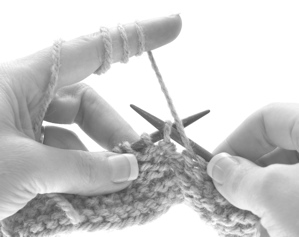
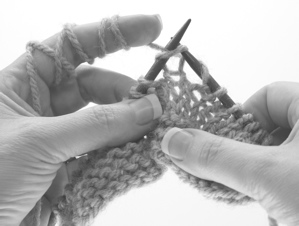
1. Bring the yarn between the needles to the front, and then over the needle again to the back of the work to begin the next knit stitch. (If the next stitch is a purl, bring the yarn to the front once again, between the two needles).
2. Work the next stitch as called for in the instructions or chart. (Photo shows a regular knit stitch following a yarn over).
On the next row, work the yarn over as a regular knit or purl stitch.
Decreases (dec)
The last thing you need to know to knit lace is how to make decreases. There are many different types of decreases used in lace, and each pattern should explain the types of decreases that are required. Some decreases slant toward the left, and others slant toward the right. Some turn two stitches into one stitch, and others turn three stithces into one stitch. Lace designers are very picky about the decreases they use, to get just the right look. So always follow the decreasing instructions exactly as given unless you are a very experienced lace knitter.